The Nest Cam is a souped up webcam that is marketed primarily as a security camera. It also works well as a baby monitor, which is what this review will focus on. Is the Nest Cam worth the $250 CAD (+ $100 per year for video history) cost?
Main features: video and audio
Video and audio quality with the Nest Cam is good. You can choose between 360p, 720p, and 1080p. The higher the quality the more bandwidth it uses, of course. For my purposes, even at 360p there is sufficient detail to see what a baby is doing, although I have it normally set to 720p. The camera captures a wide angle, and has good zoom capabilities. Night vision is a key feature — I use the camera exclusively at night — and works well.
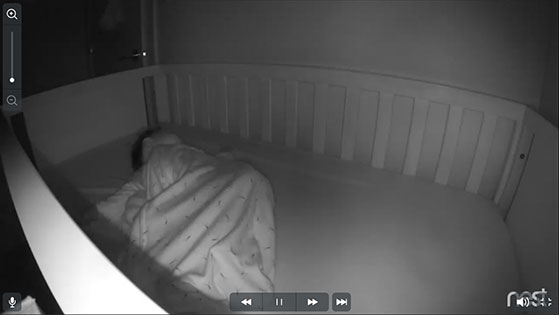
The only challenge with the night vision feature is that the lighting and thus the clarity get messed up if there is an object between the camera and what you’re trying to watch, even if that object is off to the side. Thus, you have to make sure there’s a clear path to what you’re watching, or configure the camera to zoom past the other object.
Access to the Nest Cam’s video is through its website or a smartphone app. This is very convenient because you don’t need additional devices if you already have a smartphone, and multiple people can access the video through their own devices. Using either the website or the app, you can see the video and hear the audio, but also speak through the camera.
Setup
Setting up the Nest Cam is really easy. It comes with a 10-foot cable that you plug into the wall. Using the app, you scan the QR code on the back of the camera, name the camera, and enter your WiFi details. That’s it!
The Nest Cam is only 4.5 tall, and can either stand on its own or be mounted.
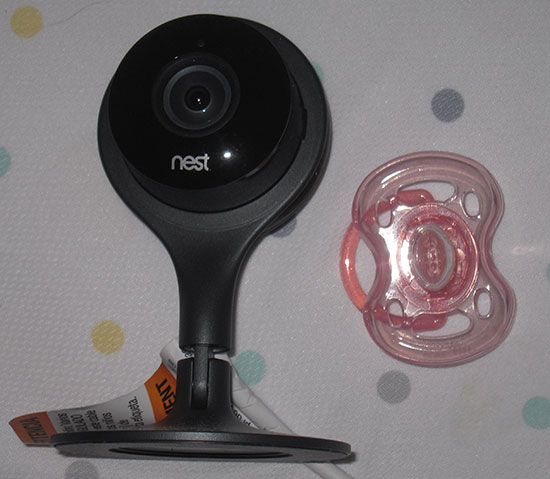
It’s quite portable — if you need to use it somewhere else in the house, you just move it and plug it in, and it automatically connects to the network again. If you need to connect it to a different network, then you just follow the same simple setup steps.
Supporting features: history and notifications
The Nest Cam has nice history and notification features, although after 30 days you have to pay for the history feature (which starts at $100 per year for 10 days of rolling video history retention).
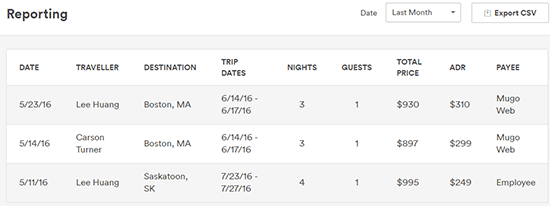
The video history is summarized with a list of sound and motion notifications through the app or website.

When you’re logged in through the website you can also view the entire history, clicking through the hours and days of video just like any online video.
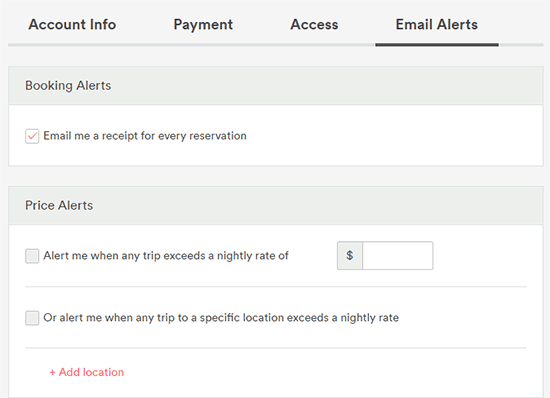
The notifications can be quite useful, with or without the video history feature. You can configure sound and/or motion notifications that will alert you via e-mail or through an app notification:
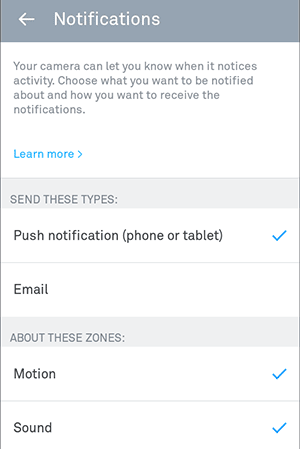
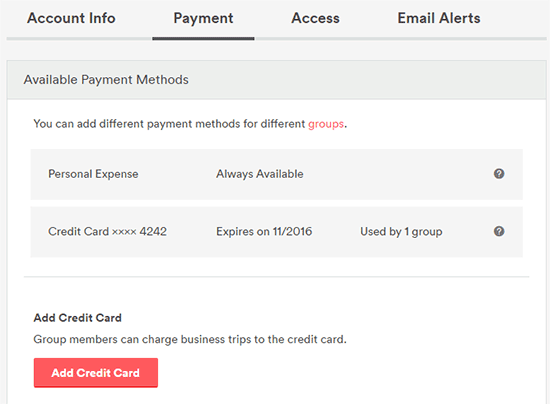
Other options that can be configured include video quality, a talk and listen chime, a status light, and more:

Although the general status light can be turned off, there is a specific case where a light shows even with that setting “Off”. When the camera has a temporary Internet connection issue, its blue light pulses, which could disturb a sleeping baby.
Plugged in and WiFi
The Nest Cam needs to be plugged in all the time, and does not have a battery backup. If you have frequent power outages, then this camera is probably not for you.
The Nest Cam also requires a good WiFi connection. This can be an issue if it needs to be placed in a room that does not have a good wireless signal from your router. It is also susceptible to any general issues you have with your Internet connection. Also, if you’re travelling with it and need to connect to a network with a login screen in addition to the WiFi password, you must use something like Connectify so that you can log in via another computer and then have the camera connect through that computer.
Bandwidth could be an issue, depending on your Internet connection. If you have the video history feature, it will be constantly streaming its video; otherwise bandwidth is only used when you’re watching the video. I measured 1 week of use (with video history) at 360p, and it used 5.05GB. Nest claims that at 720p with video history, the total bandwidth usage of your camera when it is on 24/7 is 60GB to 160GB per month. If you’re using it as a baby monitor, you probably won’t have it on all the time, though. In addition to the total bandwidth usage, you’ll need to consider its speed requirements in terms of amount of data per second. At 720p, this can be between 200Kbps and 500Kbps. You can consult the Nest website for the data speed requirements at the various video quality levels.
Conclusion
If the Nest Cam’s rich set of features are of use to you, and you have a good and reliable Internet connection and power, it might be worth the cost as a baby monitor. It might also have some good resale value. Otherwise you could stick to something cheaper and more basic.


 keung.biz. Hire my web consulting services at

